A couple of weeks ago I posted an image with a polygonal background that I discovered on the Pattern Library website and got some requests to recreate so herein lies my attempt. So in this tutorial I will show you how to create a vector polygonal pattern using Illustrator and the Pattern make feature. The process is quite simple but there are some details that are very important to make sure your pattern is tileable.
Step 1
Open Illustrator and create a new document. With the Rectangle Tool create a square like the image below.

Step 2
Duplicate the square by holding Option+Shift. Make sure they snap with no space between them.

Step 3
Create a grid by repeating the step 2 process.

Step 4
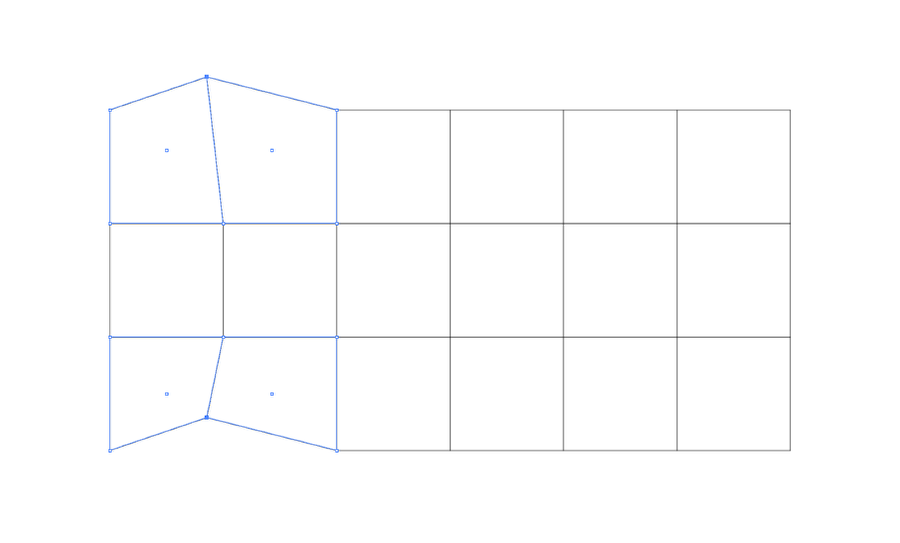
With the Direct Selection Tool (A) select the top and bottom points on the same column. Them move them to any direction. It's very important to do that for these points because that will make sure that the illustration will be tillable.
Step 5
Here's the outside points that will connect when you create the pattern.
Step 6
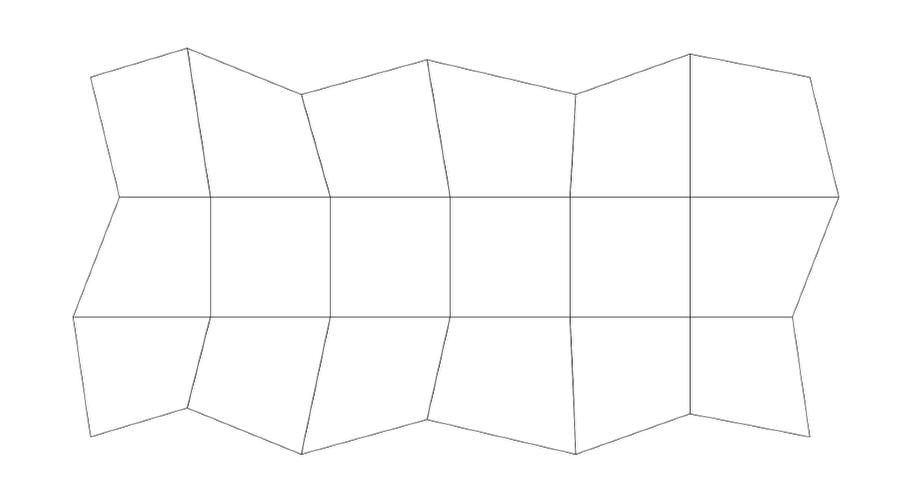
For the internal points you can do whatever you want. If you want smooth polygons don't move them too much. Also if you want to add more square to your grid that will allow you to give more details to your background.
Step 7
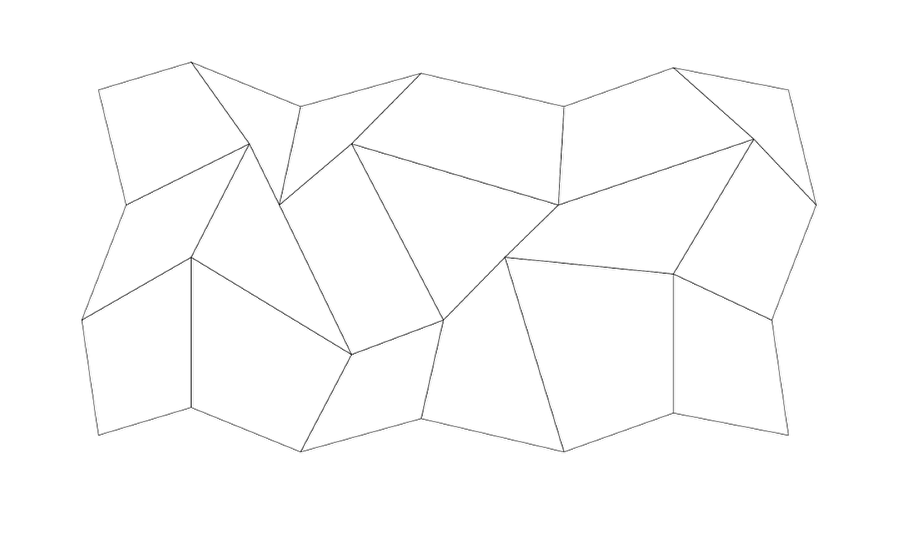
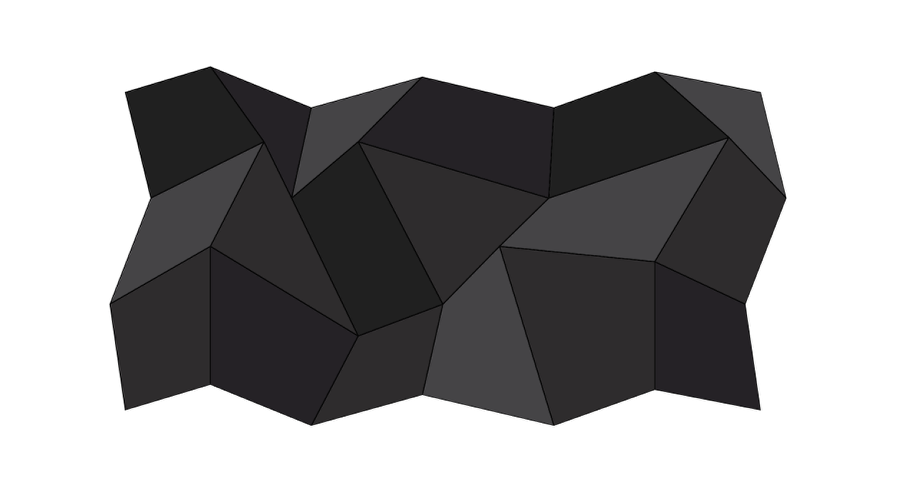
Add some colors, I used greyscale because I can change the hues in Photoshop later on.
Step 8
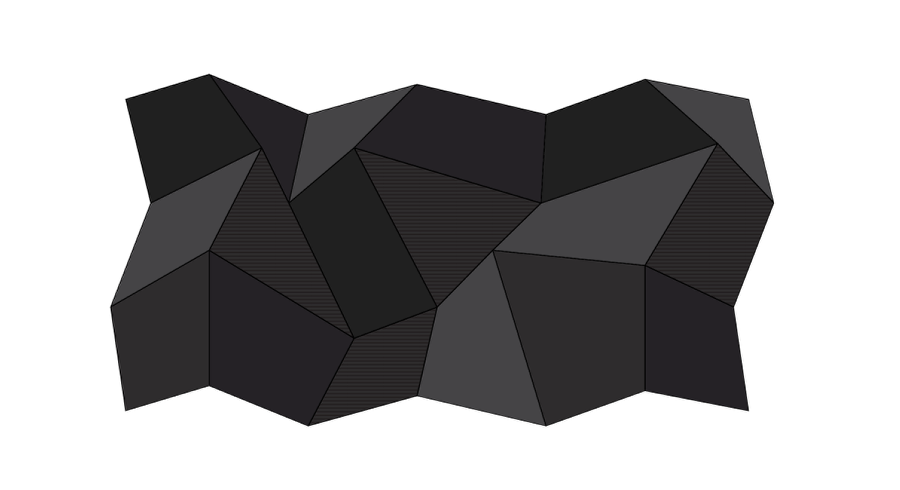
Select polygons that have the same color and duplicate them in place. Then go to Window>Swatch Libraries>Patterns>Basic_Graphics_Lines. Use one of the horizontal lines presets.
Step 9
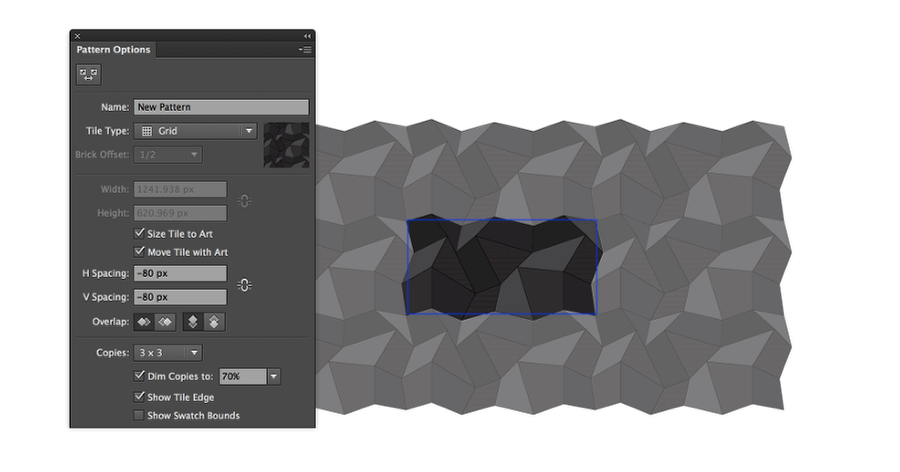
Select the image you created and go to Object>Expand. After that group the shapes and go to Object>Pattern>Make. Select Size Tile to Art and Move Tile with Art. After that change the H and V spacing until you have no space between the tiles.
Step 10
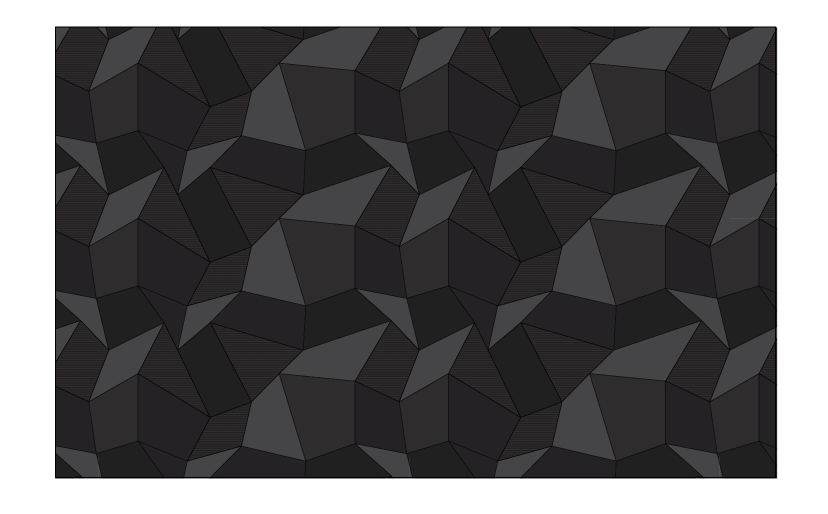
Click done and you will have a nice poliygonal pattern to play with.
Step 11
In Photoshop, create a new document. I am using 2880x1800 pixels. Copy a big rectangle with the pattern in Illustrator and paste it in Photoshop.

Step 12
Add a new layer on top and change the color. After that change the Blend Mode to Overlay. You can try as many colors you want by doing that. You can also play with the Levels to reduce the contrast .

Conclusion
Add your logo and you are good to go. The process is quite simple, it's just about paying attention to the details and you will have a nice wallpaper for your laptop or new iPhone ;)
